

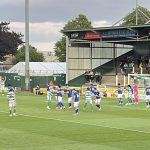


Match Gallery: Yeovil Town 1 Woking 1
2025-01-11

All photos credited to Mr Gary Brown – Please contact him for permission to use any of the images below.

All photos credited to Mr Gary Brown – Please contact him for permission to use any of the images below.


